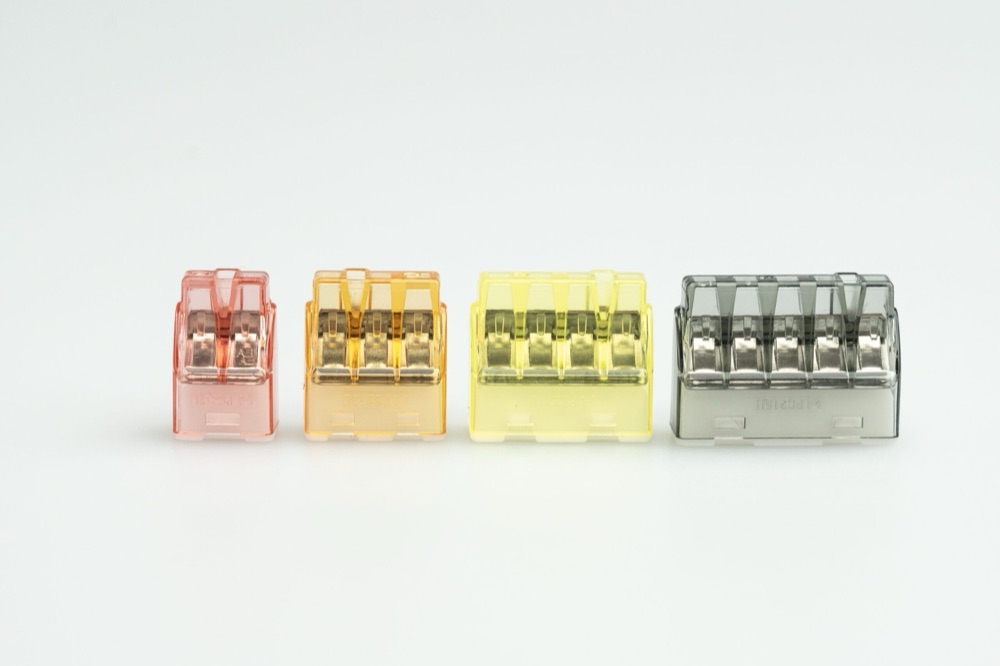
Push-in and lever connectors look alike: both join wires without tools. But they hold and release the wire differently, so they suit different jobs. Here we compare how they work and what their specifications say, then match each one to the work it fits best.
The main difference: can the wire come back out?
A push-in connector connects as soon as the stripped wire is pushed in. That makes simple wiring quick, but the wire is hard to release afterwards. A lever connector is opened, loaded and closed by hand. Open the lever again and the wire comes out, so connecting and removing wires is easy and the connector is reusable.


How the specifications compare
| Item | Push-in Type 1 | Mini push-in | Lever Type 1 | Lever Type 2 |
|---|---|---|---|---|
| Part no. | APP01 | APPC-212U ~ 215U | APCMK-632 ~ 635 | APCMK-412 ~ 415 |
| Poles | 2P · 3P · 4P · 5P · 8P | 2P ~ 5P | 2P ~ 5P | 2P ~ 5P |
| Wire range | 20–14 AWG / 0.5–2.5 mm² | 24–12 AWG / 0.2–2.5 mm² | 24–12 AWG / 0.2–4 mm² | Stranded 0.08–2.5 mm² · solid 0.2–4 mm² |
| Rating | 450V / 24A | 450V / 24A | 450V / 32A | 450V / 32A |
| Temperature | 110℃ | IEC T85 / UL 105℃ | -40 ~ 105℃ | -20 ~ 85℃ |
| Strip length | 13 mm | 11 mm | 11 mm | 10 mm |
| Material | PC (UL94 V-2) | PC (UL94 V-2) | PC housing · POM lever | PA66 housing and lever |
| Marks in product data | UL · CE · CQC | UL · CE · CQC | CE | CE |
The values to watch are wire range and rated current. Both lever types take wire up to 4 mm² and are rated at 32 A. Type 2 lists different ranges for stranded and solid wire, so check which kind you are using. Push-in Type 1 does not cover wire thinner than 20 AWG (0.5 mm²); if thinner wire is involved, look at the mini push-in or lever types, whose range is wider.
Choosing by the job
Simple, repetitive wiring
Push-in Type 1 is quick because the wire only has to be pushed in. It suits wiring that is unlikely to be reopened.
Lighting and building wiring in tight spaces
Look at the mini push-in connector, which is more compact than the standard push-in type.
Equipment that is serviced or rewired often
A lever connector fits, because the lever lets you remove and reconnect wires easily.
Joining wires of different sizes
A lever connector is the right choice. First confirm that every wire falls inside the stated range.
When you want to see the connection
Lever Type 1 has a clear housing, so the connection can be checked by eye.
What to check before you choose
- Wire range The wire must fall inside the stated range for a reliable connection. In AWG a smaller number is thicker; SQ is the cross-section in mm².
- Voltage and current The rating applies to the connector. Circuit voltage and current must stay within it, and the limits for the wire and breaker still apply.
- Temperature On the mini push-in, IEC T85 means ambient up to 85 °C and UL 105 °C means up to 105 °C. Lever Types 1 and 2 also have different ranges.
- Strip length It runs from 10 to 13 mm depending on the product. Too short gives poor contact; too long leaves conductor exposed.
- Will it be reopened? If the wires may need to come out later, it is better to start with a lever connector.
The steps are much the same
- Turn off the power before you start.
- Strip to the length for that product and check the conductor is undamaged.
- Push the wire fully in on a push-in type; on a lever type, open the lever, insert the wire and close it.
- Tug the wire gently to confirm it holds, and check no conductor is left exposed.
In short: push-in if the wires will rarely come out again, lever if they will or if wire sizes are mixed. Make the final choice by checking the wire and circuit conditions on site against the product specifications.